Table of contents
We now live in an age where you no longer need to buy a $400 printer to scan documents. Tools like Adobe Scan and CamScanner allow you to do it straight from your phone!
Web developers are constantly pushing the limits of what can be accomplished on the web. Now, you can create a scanner with just Javascript.
So let’s make one ourselves.
Introduction
We will be using jscanify, a “mobile document scanning” library that lets us achieve this.
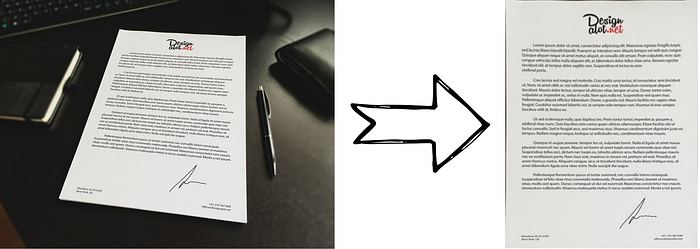
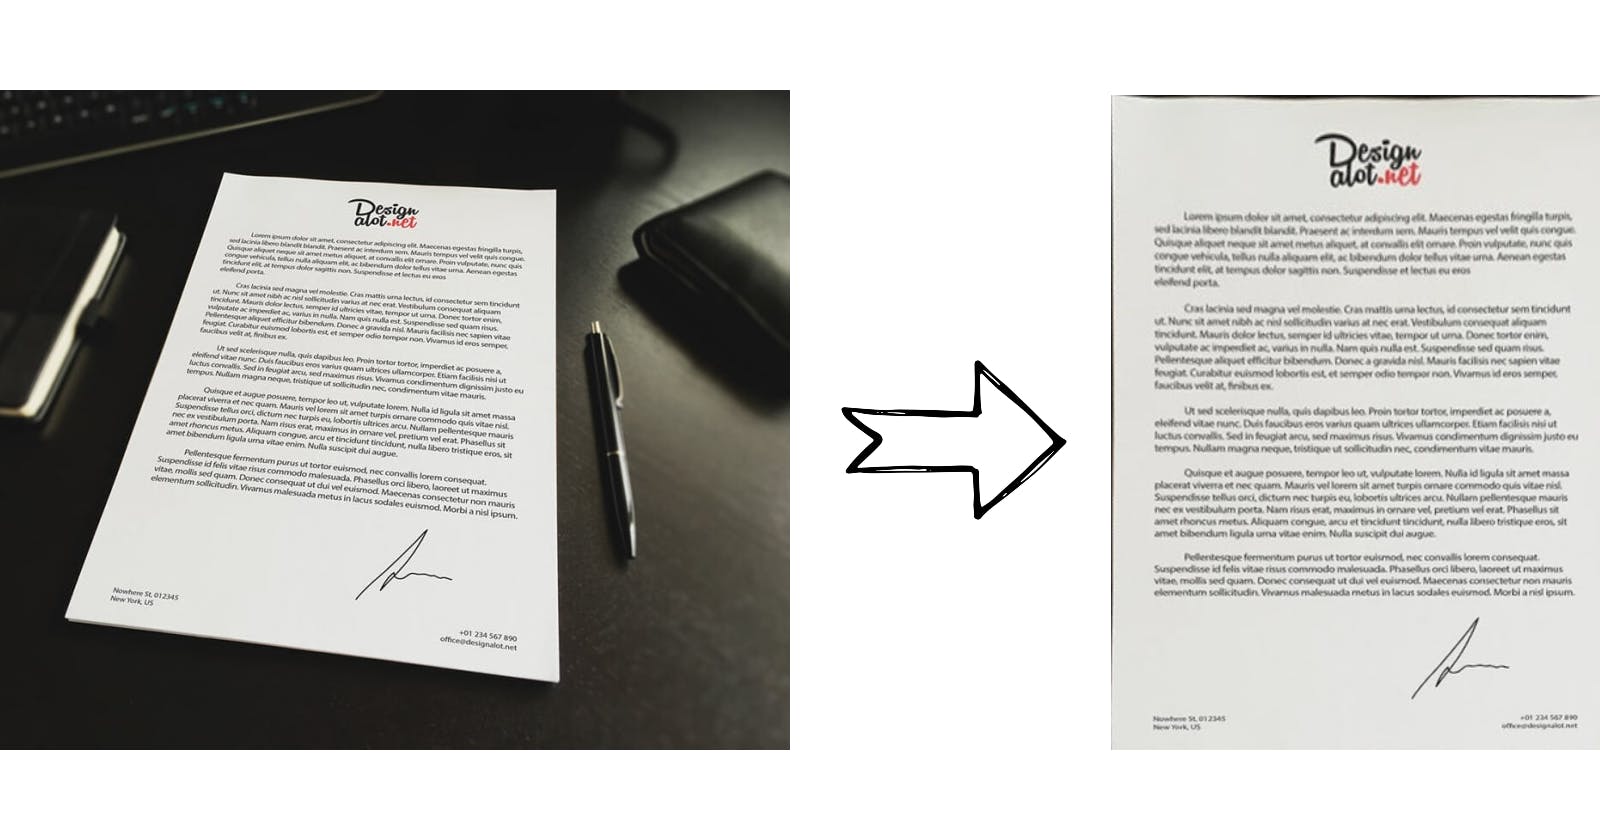
Our goal is to convert the image on the left, to the one on the right:

Setting up the environment
We'll be doing this in a web environment. If you want to do this server side or with React, jscanify supports it too (you'll need to check the documentation though).
<html>
  <body>
    <script src="https://docs.opencv.org/4.7.0/opencv.js"></script>
    <script src="https://cdn.jsdelivr.net/gh/ColonelParrot/jscanify@master/src/jscanify.min.js"></script>
  </body>
</html>
Getting the image and scanning
Now, let’s create an image to scan.
To scan the image, we will need to initialize jscanify, then use the extractPaper method to get a canvas which contains the result:
<html>
  <body>
    <script src="https://docs.opencv.org/4.7.0/opencv.js"></script>
    <script src="https://cdn.jsdelivr.net/gh/ColonelParrot/jscanify@master/src/jscanify.min.js"></script>
    <img src="https://colonelparrot.github.io/jscanify/images/test/test.png" crossorigin="anonymous" id="image" />
    <script>
      cv.onRuntimeInitialized = function() {
        function scan() {
          const scanner = new jscanify()
          const scanned = scanner.extractPaper(image, 386, 500)
          document.body.appendChild(scanned)
        }
        image.onload = scan

        if (image.complete) {
          scan()
        }
      }
    </script>
  </body>
</html>
Here, we first wait for OpenCV to load by listening for the onRuntimeInitialized event. The two parameters that we pass to extractPaper are the width and height respectively.
So there you have it! You’ve just replaced a $400 scanner with just a few lines of Javascript.
For a live demonstration, you can check out the one on their home page.
